Welcome to our comprehensive guide on how to master the art of DIY screen printing on apparel. Whether you are a creative hobbyist, a small business owner, or just someone looking to personalise their clothing, this step-by-step tutorial will walk you through the process of creating custom prints on t-shirts, hoodies, and more.
What is Screen Printing?
Screen printing is a popular method for transferring designs onto fabric by using a mesh stencil and ink-blocking template to create vibrant prints. It is a versatile technique used in t-shirt printing, uniforms printing, hi vis workwear printing, and more.
Materials You'll Need:
1. Screen Printing Frame and Mesh:
The foundation of screen printing is the screen printing frame, typically made of wood or aluminium, with a mesh stretched across it. The mesh's tightness and the material will depend on the detail of your design.
2. Squeegee:
A squeegee is a tool used to spread the ink evenly across the screen, ensuring a crisp and consistent print.
3. Ink and Emulsion:
Choose the right ink for your fabric type and colour preferences. Emulsion is a light-sensitive chemical used to transfer the design onto the screen.
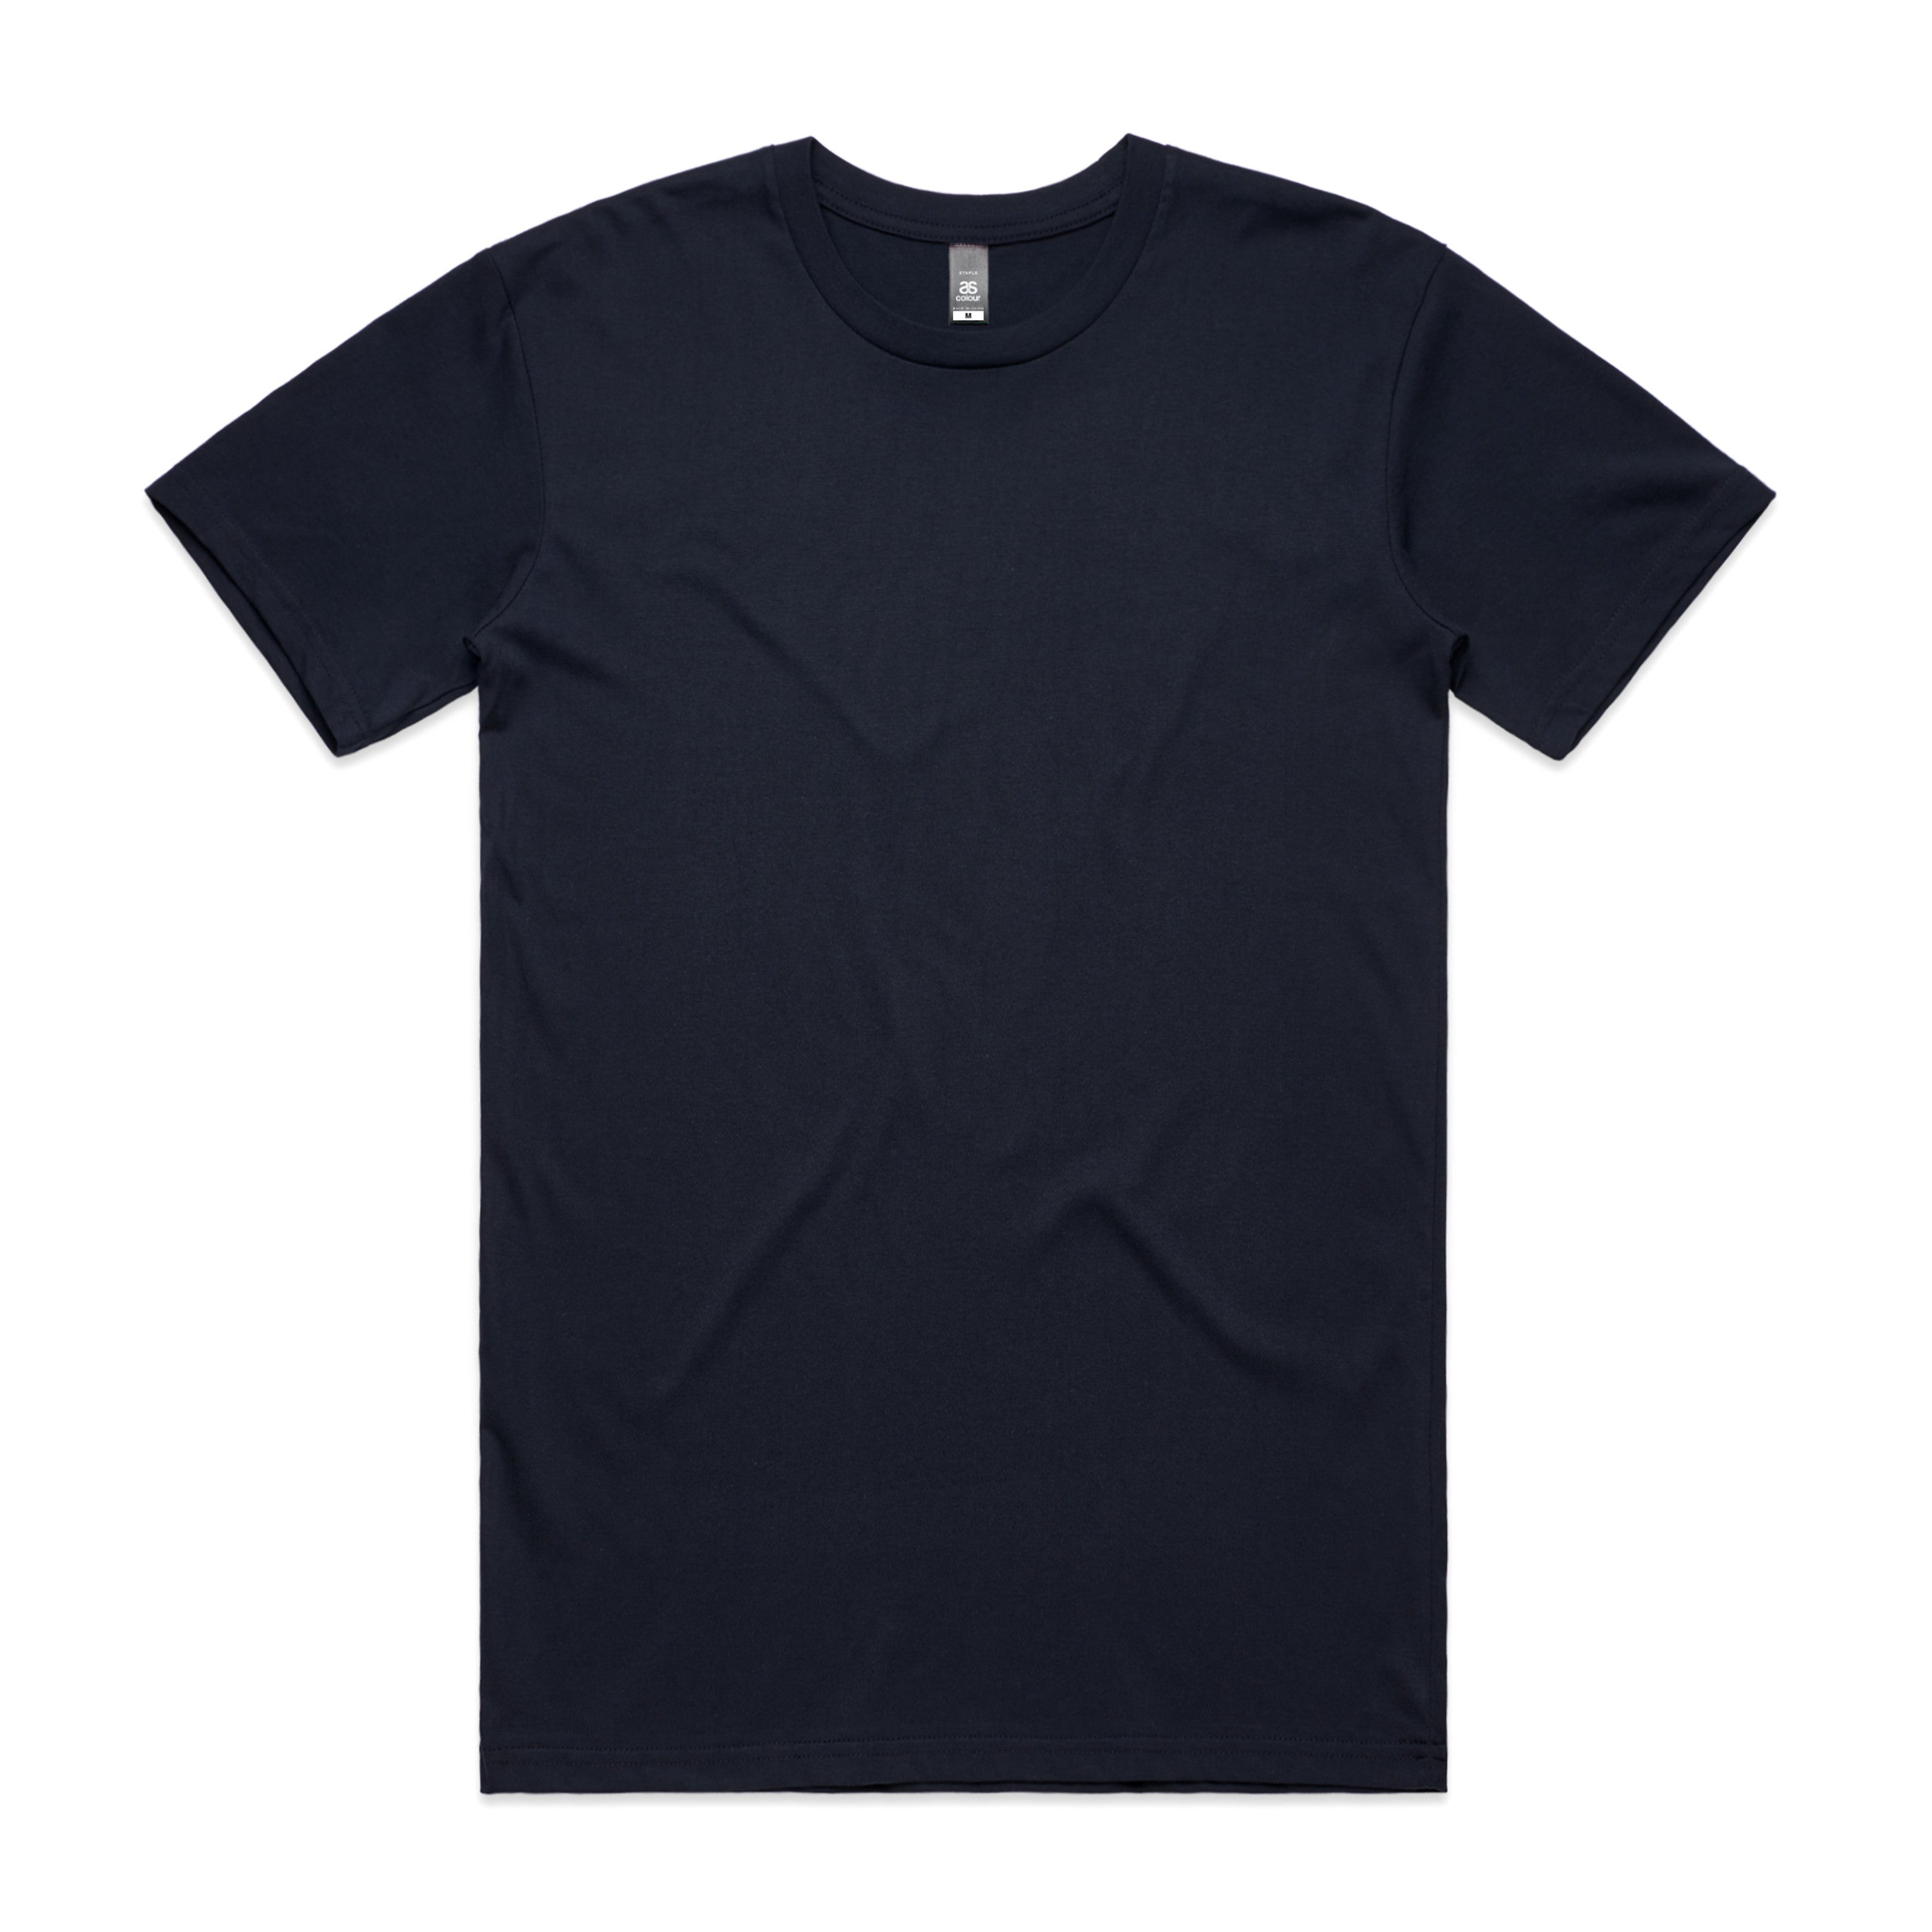
4. Apparel to Print On:
Select your blank t-shirts, hoodies, tote bags, or any other apparel you wish to print your designs on.
5. Design Template:
Create or obtain a design template that you want to print onto your apparel.
6. Workstation Setup:
Ensure you have a clean, well-ventilated space to set up your screen printing station.
Step 1: Prepare Your Design
The first step in DIY screen printing is preparing your design. Whether you're using a hand-drawn design or a digital graphic, ensure it is the right size and shape for your apparel.
Step 2: Create Your Screen
Coat your screen with the photosensitive emulsion and let it dry in a dark environment. Then, place your design template on top of the screen and expose it to light. The design will be burned into the screen where the light hits it.
Step 3: Set Up Your Printing Station
Secure your screen onto your printing frame and place your apparel on a flat surface. Place a protective layer inside your apparel to prevent the ink from bleeding through to the other side.
Step 4: Apply the Ink
Place a generous amount of ink on one end of your screen and use the squeegee to spread it evenly across the design. Apply pressure to transfer the ink through the screen onto your apparel.
Step 5: Let It Dry
Allow your freshly printed apparel to dry for the recommended time as per the ink manufacturer's instructions. This ensures a long-lasting print that won't wash off.
Step 6: Cure the Print
Once dry, heat set the print using an iron or heat press machine according to the ink manufacturer's guidelines. This step ensures the print is fully cured and will withstand regular wash and wear.
Step 7: Admire Your Work
After the curing process, admire your custom screen-printed apparel and marvel at the professional-looking results you achieved right at home.
Get Creative with DIY Screen Printing!
Congratulations! You've now mastered the basics of DIY screen printing on apparel. Whether you're looking to start your own t-shirt printing business, add flair to your wardrobe, or create memorable gifts for loved ones, screen printing offers endless possibilities for customisation. Experiment with different inks, designs, and apparel to unleash your creativity with digital t-shirt printing!

